
Putting the pieces together! Today, we learn the Align command to get everything straight before sending it to the 3D printer.
Your Infographic Blueprint:
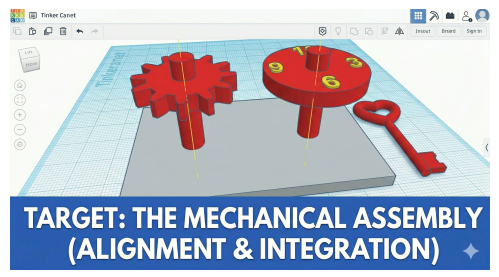
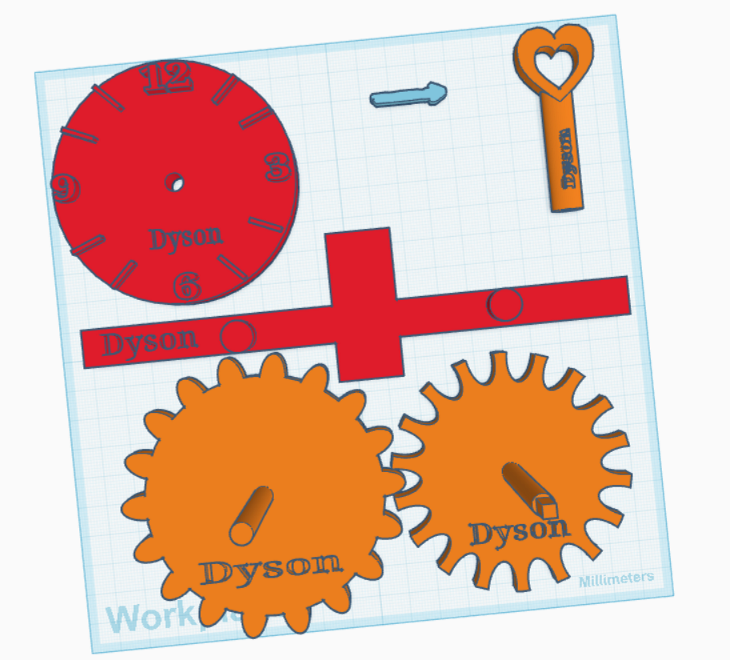
This image shows how all the pieces from previous weeks—the clock , the gear, and the key —come together on a baseplate with alignment pegs!
⚡️ TinkerCAD Hotkeys for today:
- L: (Align) The most important command for assembly. Line up your shapes perfectly!
- A: (Select all). Draw a big red box around everything or press Ctrl+A.
- Ctrl+G: (Group) the entire assembly at the end.
- W: (Press W) and click anywhere in the blue empty space to turn the floor blue again.
Step-by-Step Instructions:
We are going to connect the pieces together today or at least make the connections.
First lets add the shaft to the gears so that the mechanism can turn when its finished
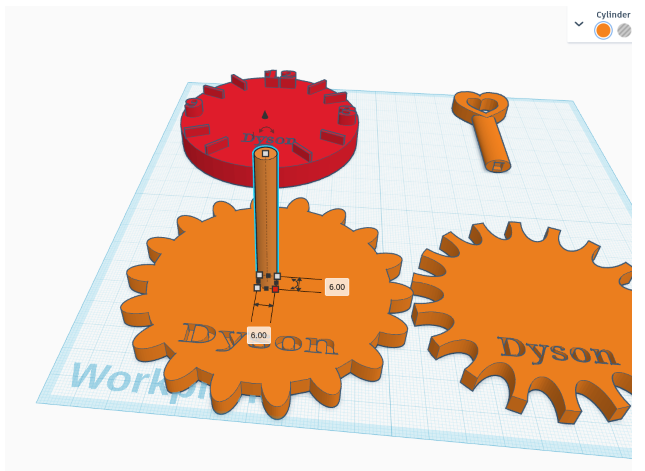
This is just a cylinder which is 6mm x 6mm – use the alignment tool to get it in the right place
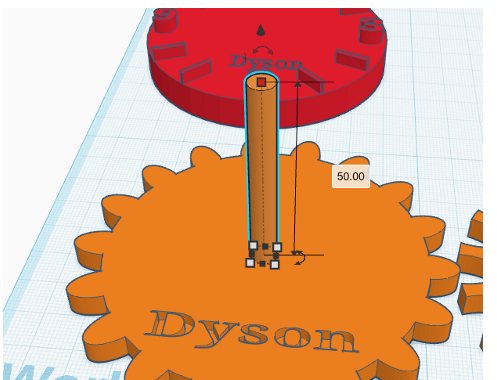
Don’t forget to make it tall enough
Now do the same on the second gear
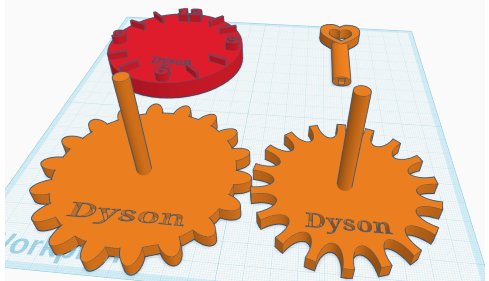
(The dimensions are the same as the first one)
The second shaft needs a square end to fit our key – let’s add one.
(Its slightly smaller than the key square so it fits easily)
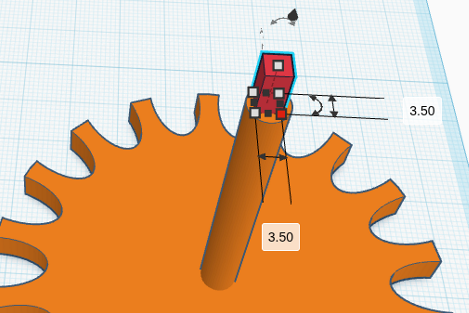
We also need a hole in the clock face for the shaft to go through
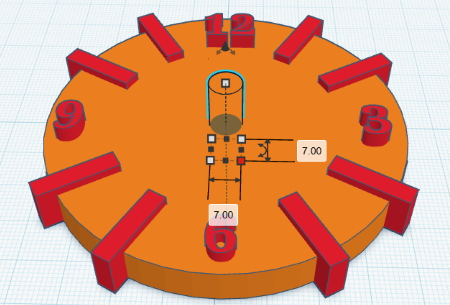
Its slightly bigger than 6mm so the shaft doesn’t get stuck
Now lets make a hand for our clock using the sketch tool (the squares on the background are all 1mm and we should have a hand that isn’t thicker than the shaft)
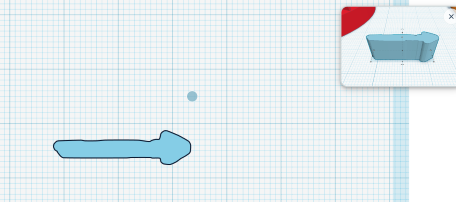
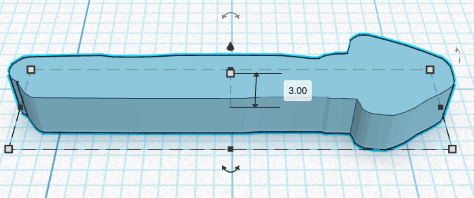
This can now be glued onto the end of the shaft
We also need a base plate so the two cogs can sit on it
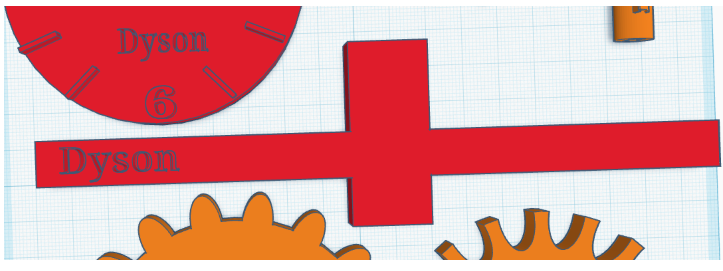
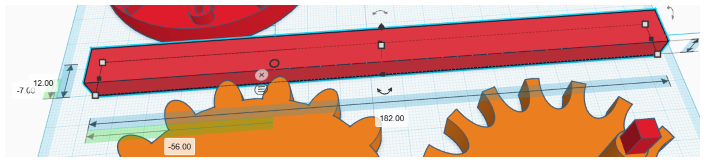
This is basically just two rectangles which touch each other 182x12mm
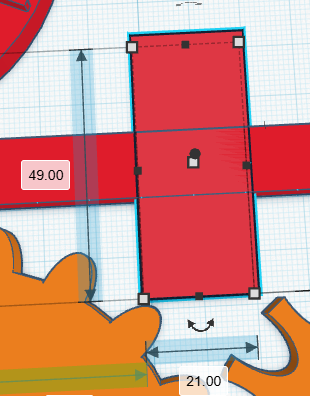
Then add the cross section 49×21
You then need to add in the two cylinders – check the size so they fit the holes in the base of the cogs
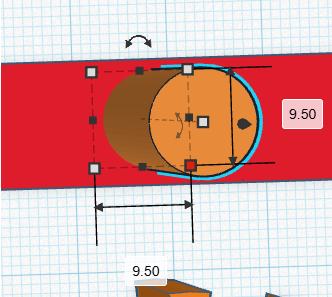
Check the height of the cylinder is around 10mm
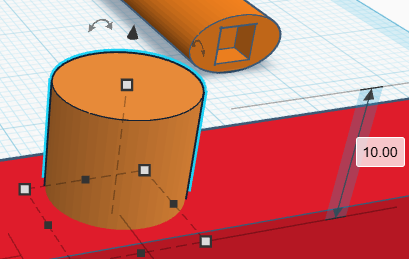
Then select the first cylinder, hold shift click the second cylinder and press r this will produce the ruler so you can check the distance between the two cylinders is 90 mm
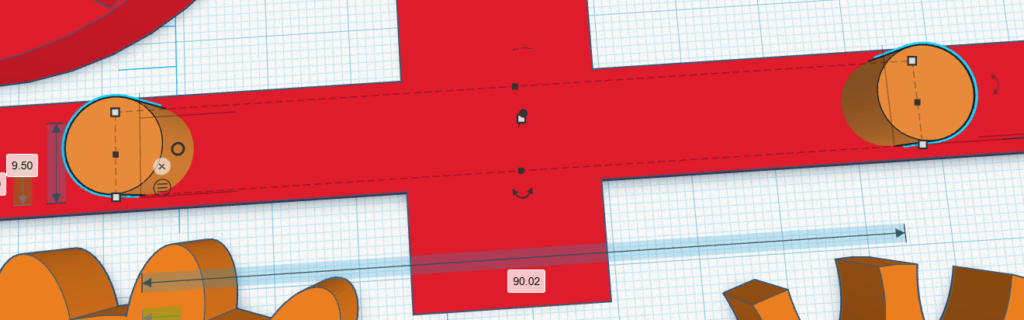
We can now add the holes in the centre of the cogs so that they can rotate on the base plate
You’ll need to look from the bottom and use the align tool to get the cylinder central
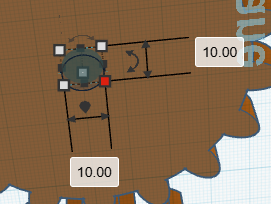
Can you see how we have changed the bottom of the cogs so they sit on the base?
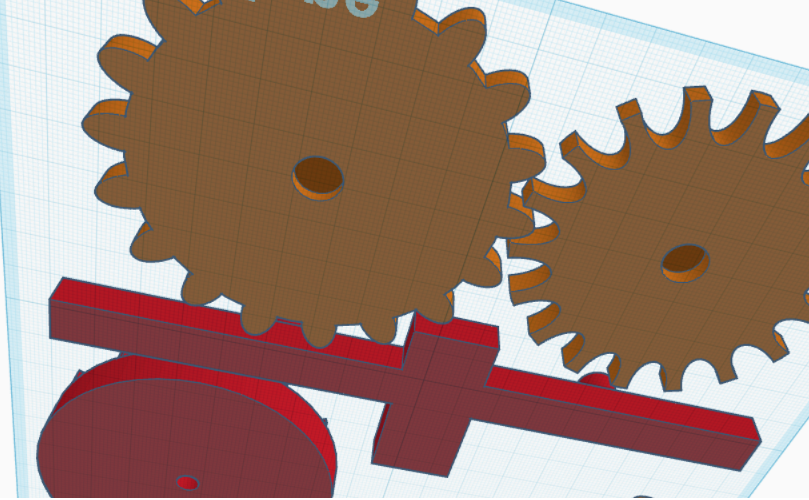
It’s now ready to print (these are printing at 60% of the original size to fit them all on)
When its finished it should look something like this:
Comments are closed, but trackbacks and pingbacks are open.